Toggle Nav 
Maintain your instrument
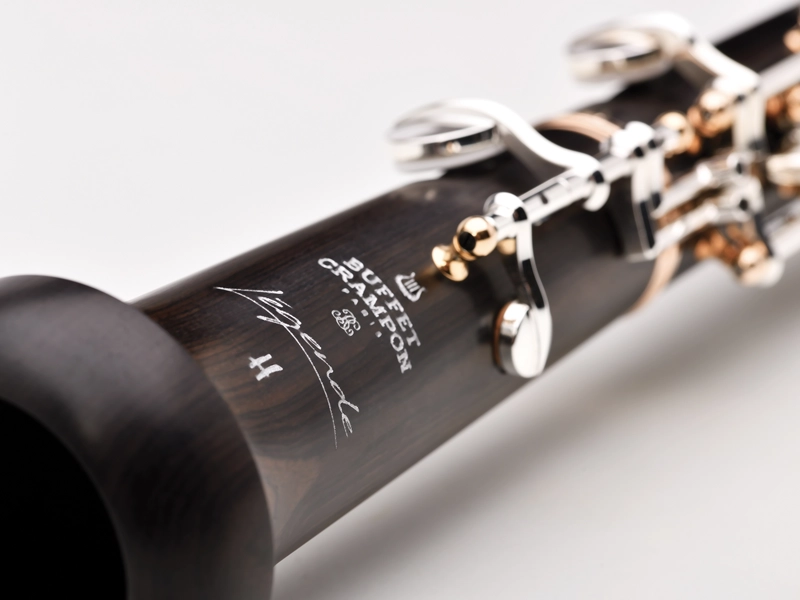
Clarinet
How to assemble your clarinet
1. Assemble the barrel and the top joint.
Hold the top joint with the left hand, taking care not to apply any excessive force to the keys. Firstly, apply cork grease Buffet Crampon thinly to the joint corks to make assembly easier.
Note: Cork grease needs to be applied every time when the assembly is difficult. Never use force to avoid instrument from cracking.
Special instructions for Divine clarinets:
The tenons on your Buffet Crampon Divine clarinet are lined with synthetic cork. We have chosen this material for its reliability and the consistent precision it lends to adjustment. It never tears; never wears out. Your clarinet is easy to assemble. Synthetic cork has memory, which means that it returns to its original form after being compressed, so your clarinet will always be perfectly assembled. The upkeep of your instrument is simplified as greasing the tenons is not necessary. If you wish to grease the corks of tenons, it is recommended to use the special cork grease included with the Divine clarinet.
2. Assemble the bottom joint and the bell.
Take care not to apply any excessive force to the keys.
3. Assemble the top and the bottom joints.
Hold the top joint with the left hand and the bottom joint and the bell with the right hand. Line up the correspondence keys.
4. Make sure that the stampings on each joint are in line with each other.
Insert the mouthpiece into the assembled instrument. Then fix the ligature and a dampened reed on the mouthpiece. Note: take care not to damage the mouthpiece top or the reed with the ligature. After playing, cap mouthpiece to protect it and the reed from damage.
How to take part your clarinet?
Disassemble in reverse order.
Maintenance
Daily care
1. To prevent corrosion, wipe the keywork with the dry polishing cloth provided after each performance.
2. Always use the Buffet Crampon case provided for the instrument. Too tight or too loose a case may cause bending of keys.
3. Under no circumstances use oil, solvents or anticorrosive products.
Pitch
The pitch of a wind instrument is greatly affected by temperature. The Buffet Crampon clarinet are designed to reach its pitch when it is played for four minutes in a room of average temperature (20°C).
Pitch adjustment
When the barrel – top joint is pulled out: the pitch of the instrument generally lowers, but especially the notes in the upper part of the top joint.
When the top joint – bottom joint are pulled out: the pitch of the instrument generally lowers, but especially the notes in the upper part of the bottom joint.
IMPORTANT - To prevent cracks on the body
1. In the case of a new instrument, do not play it continuously for more than 30 minutes daily during the first month.
2. Avoid any rapid change of temperature and humidity. For instance, do not leave the instrument in the blazing sun, outdoor in winter, or near an airconditioner or heater.
3. Before putting the instrument in the case, dry the bore completely with your pullthrough (swab).
4. No bore oil, etc. needs to be used to prevent cracks in a new instrument. Observing the precautions in 1. and 2. is sufficient.
Note: Should any wooden instrument crack, it will never affect the intonation and tone quality if the instrument is properly repaired.
Use of the swab provided
1. Whilst playing the instrument, use the swab frequently. If water collects in the tone hole, bubbling and welling of pads with consequent leakage will badly affect the performance. If so, dry pads with cigarette paper.
Note: Pass a swab through the bell towards the barrel. It may otherwise be caught by a tube protruding inwardly in the upper part of the top joint.
2. When the swab is soiled, replace it with a new one. If a soiled or a fluffy one resulting from over washing is used, dust may collect in the tone holes.
3. Do not put a wet swab in the case with the instrument. The wet swab may cause rust on the springs and the discoloration of the keywork.
Bass clarinet
Instrument assembly
Firstly, apply Buffet Crampon cork grease thinly to the joint corks to make the assembly easier.
NB : cork grease needs to be applied every time when the assembly is difficult. Never use force to avoid insturment from cracking.
1. Assemble the top joint with the bottom joint.
Hold the top joint with the left hand and the bottom joint with the right hand and insert, taking care not to apply any excessive force to the keys. Make sure that on each joint are line with each oher.
2. Assemble the bottom joint and the bell.
Hold the joint part of the bell with the left hand and the bottom joint with the right hand and assemble. The instrument descending to low Eb also has a key on the bell. Keep holding the cap of the key on the bell so that the key on the bottom joint will not hit the key on the bell.
3. Fix the pin to the bell firmly with the screw.
4. Assemble the bocal and the top joint.
Hold the joint part of the bocal with the right hand and the top joint with the left hand near the bocal.
5. Fix the reed to the mouthpiece.
Mount the ligature on the mouthpiece and slip in the dampened reed. Then tighten the screw of the ligature. Put the reed straight with the mouthpiece. Note : take care not to damage the mouthpiece top or the reed with the ligature. After playing, cap the mouthpiece to protect it and the reed from damage.
6. Assemble the mouthpiece with the bocal.
Hold the bocal with the left hand near the joint of the mouthpiece supporting from the bottom and the mouthpiece with the right hand, and assemble.
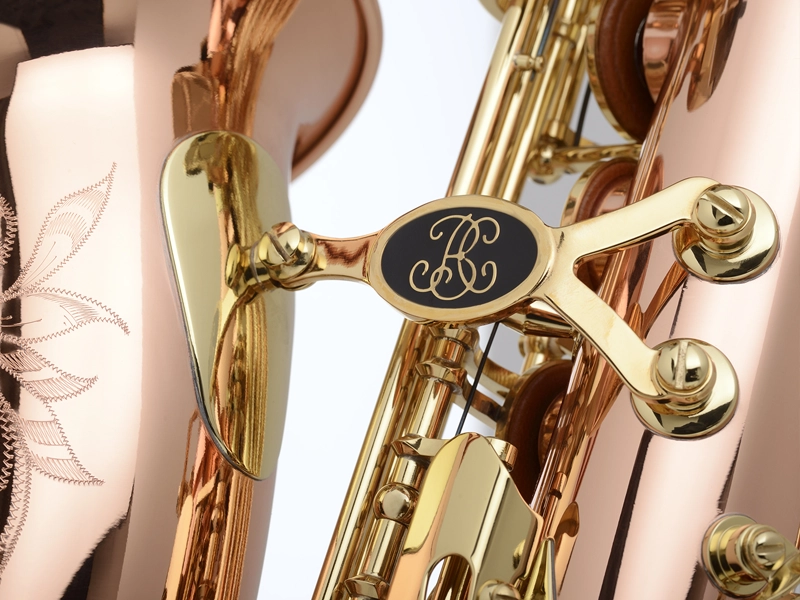
Saxophone
How to mount your saxophone?
1. Always handle the body of your saxophone from the bell or body tube without putting pressure against the keys or rods. Excessive pressure on the keys or rods can cause them to bend and not seal or work properly.
2. Be sure the neck tenon and receiver are clean and free of debris, moisture, or corrosion.
3. Insert the neck tenon into the neck receiver. Be careful not to apply too much downward pressure on the neck, as this may cause the neck to bend.
4. Apply cork grease to the mouthpiece cork at the end of the neck so the mouthpiece may be put on easily and without force.
5. Attach the reed and ligature to the mouthpiece.
Note: take care not to damage the mouthpiece top or the reed with the ligature. After playing, cap mouthpiece to protect it and the reed from damage.
How to disassemble your saxophone?
Perform the reverse procedure.
Maintaining your saxophone
Daily care
1. To prevent corrosion, wipe the keywork with the dry polishing cloth provided after each performance.
2. Always use the Buffet Crampon case provided for the instrument. Too tight or too loose a case may cause bending of keys.
3. Before putting the instrument in the case, dry the bore completely with your pull through cleaning swab. Removing moisture will keep the inside of your saxophone clean and help prevent pads from sticking and deteriorating.
4. Always remove your mouthpiece from the neck when storing or not in use This will improve the tonon cork durability and will help keep the neck and mouthpiece dry.
Long term care
Through regular use, the keys on your saxophone may gradually become out of adjustment. It is recommended to bring your instrument to a qualified repair technician every 6 months to be checked and readjusted if necessary. Regular preventive maintenance will greatly reduce the risk of malfunction and possible need for more extensive and costly repairs in the future.
Pitch adjustment
1. When the mouthpiece is pulled out: the pitch of the instrument lowers (flat)
2. When the mouthpiece is pushed in: the pitch of the instrument raises (sharp)
In the event of any problems, please contact your dealer.

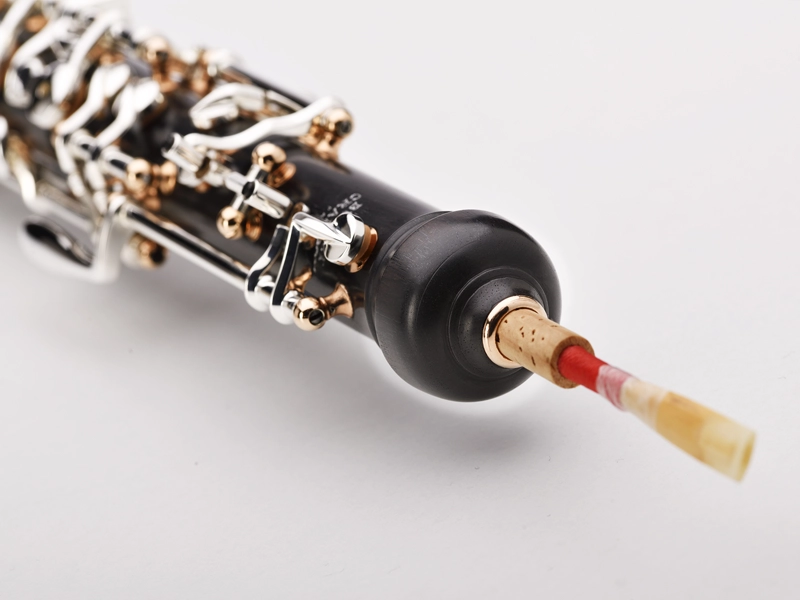
Oboe
How to assemble your oboe?
1. Assemble the bell and the lower joint by gently twisting them together, taking care not to apply excessive force to the keys. To make assembly easier, apply a thin layer of Buffet Crampon cork grease to the tenon corks.
Note: Use cork grease whenever assembly is difficult. Never force the parts together to avoid damaging the instrument.
Special instructions for Légende and Légende Hybrid oboes:
Your Légende or Légende Hybrid oboe is equipped with double escapement keys on the bell. Keep the B-flat key closed during assembly and gently twist to align the connection points.
2. Assemble the lower joint/bell assembly with the upper joint, aligning the connection points while taking care not to apply too much pressure on the keys.
Special instructions for Virtuose oboes:
Your Virtuose oboe features a long upper joint. To connect the upper joint and the lower joint, keep the resonance key closed and slide the two joints together until the notch stops. Ensure that the magnetic keys connecting the crow’s foot are properly engaged.
3. Ensure that the engraved logos on each part are aligned. Then, insert your reed.
How to disassemble your oboe?
Disassemble in the reverse order.
Maintenance
Daily care
1. After each use, thoroughly dry the inside of your instrument with the provided swab. Our swabs have been specially designed to ensure optimal drying of the bore for each of our instruments. They are machine washable at 30°C in a laundry bag. A slight moisture residue may remain inside the instrument after swabbing, which is normal; a perfectly dry bore could cause premature wear of the wood.
2. Clean the keywork of the instrument with the soft cloth provided with your instrument. This cleaning ensures the long-term mechanical performance of the instrument. Be careful not to force the keys to avoid damaging the pads and key adjustments.
3. Always use the cases designed exclusively for your instrument. A case that is too tight or too loose can damage the keywork and affect the regulation of your instrument.
4. Absolutely avoid using solvent products, anti-corrosives, etc.
Tuning
The tuning of a wind instrument is very sensitive to temperature variations. Buffet Crampon oboes achieve their proper pitch when played for a few minutes in a room at average temperature (20°C).
IMPORTANT – Preventing cracks on the body
If the instrument is new, do not play it for more than 30 minutes per day during the first month.
Avoid sudden changes in temperature and humidity. Do not leave the instrument near a heat source (radiator, sunlight) or in a draft.
Before placing the instrument in its case, carefully swab the bore.
Avant de mettre l’instrument dans l’étui, passer soigneusement l’écouvillon.
Note: There is no need to oil the bore to prevent cracks. Following the above precautions is sufficient.
If a crack does appear, contact your dealer; a careful repair will not affect the intonation and sound quality.
Use of the provided swab
While playing the instrument, use the swab frequently. If water collects in the tone holes, it will affect the instrument’s performance and may damage the pads: use cigarette paper to absorb the excess moisture.
Note: Gently pass the swab from the bell through to the pip. When the swab becomes worn, replace it. If you use a dirty or fluffy swab, debris may collect in the tone holes.
Never store a wet swab in the case with the instrument. Moisture from the swab can cause oxidation of the keywork.
Long-term care
Over time, the mechanics and consumables (corks, pads, springs, screws) may become misaligned. It is recommended to have your instrument inspected annually by a certified technician to ensure the entire instrument is in good working order. Regular maintenance will reduce the risk of malfunction and prevent the need for major, costly repairs.
English horn
How to assemble your English horn?
1. Assemble the bell and the lower joint by gently twisting them together, taking care not to apply excessive force to the keys. To make assembly easier, apply a thin layer of Buffet Crampon cork grease to the tenon corks.
Note: Use cork grease whenever assembly is difficult. Never force the parts together to avoid damaging the instrument.
Special instructions for Prestige English horns with an extension:
1. First, attach the extension to the lower joint while holding the low B-flat key closed. Gently twist the parts together.
2. Assemble the lower joint/bell assembly with the upper joint, aligning the connection points while taking care not to apply too much pressure on the keys.
3. Ensure that the engraved logos on each part are aligned. Then, insert your reed.

How to disassemble your English horn?
Disassemble in the reverse order.
Maintenance
Daily care
1. After each use, thoroughly dry the inside of your instrument with the provided swab. Our swabs have been specially designed to ensure optimal drying of the bore for each of our instruments. They are machine washable at 30°C in a laundry bag. A slight moisture residue may remain inside the instrument after swabbing, which is normal; a perfectly dry bore could cause premature wear of the wood.
2. Clean the keywork of the instrument with the soft cloth provided with your instrument. This cleaning ensures the long-term mechanical performance of the instrument. Be careful not to force the keys to avoid damaging the pads and key adjustments.
3. Always use the cases designed exclusively for your instrument. A case that is too tight or too loose can damage the keywork and affect the regulation of your instrument.
4. Absolutely avoid using solvent products, anti-corrosives, etc.
Tuning
The tuning of a wind instrument is very sensitive to temperature variations. Buffet Crampon English horns achieve their proper pitch when played for a few minutes in a room at average temperature (20°C).
IMPORTANT – Preventing cracks on the body
If the instrument is new, do not play it for more than 30 minutes per day during the first month.
Avoid sudden changes in temperature and humidity. Do not leave the instrument near a heat source (radiator, sunlight) or in a draft.
Before placing the instrument in its case, carefully swab the bore.
Avant de mettre l’instrument dans l’étui, passer soigneusement l’écouvillon.
Note: There is no need to oil the bore to prevent cracks. Following the above precautions is sufficient.
If a crack does appear, contact your dealer; a careful repair will not affect the intonation and sound quality.
Use of the provided swab
While playing the instrument, use the swab frequently. If water collects in the tone holes, it will affect the instrument’s performance and may damage the pads: use cigarette paper to absorb the excess moisture.
Note: Gently pass the swab from the bell through to the pip. When the swab becomes worn, replace it. If you use a dirty or fluffy swab, debris may collect in the tone holes.
Nb : Passez doucement l’écouvillon en passant par le pavillon jusqu’à la piperelle.
Never store a wet swab in the case with the instrument. Moisture from the swab can cause oxidation of the keywork.
Long-term care
Over time, the mechanics and consumables (corks, pads, springs, screws) may become misaligned. It is recommended to have your instrument inspected annually by a certified technician to ensure the entire instrument is in good working order. Regular maintenance will reduce the risk of malfunction and prevent the need for major, costly repairs.
Please sign in to continue